Saturday, July 26, 2014

DIY Apothecary Jar Solar Light

I've seen dozens of solar lights made out of mason jars. You can even buy kits now with all the items needed to make them. I got to thinking what works for mason jars has to work for other jars just as easily and some other jars are prettier, too!

Like this thrift store apothecary jar.


I made this as a gift for a summer birthday awhile back. It was a big hit and it couldn't have been simpler to do! First of all  find a jar with a glass lid that will be the approximate size, or larger, of the top part of an inexpensive $1 solar light like the one below. 


In this case the inexpensive solar light is 2" across and the glass lid for the jar I chose is just a bit bigger.


I did a dry run with the solar light and the lid using toothpicks for spacers on three sides. I left it outside for 24 hours and it lit up nicely!


I hot glued Dollar Store twine around the neck of the jar.


I also hot glued a strip of textured wall paper around the solar light and painted the flat top around the solar cell to blend into the twine and the wallpaper. See how well the solar light is hidden inside the jar lid? I also cut off the clear plastic collar at the bottom of the light with a dremel tool.


I hot glued the refurbished light inside the lid. Since the lid protects the hot glue from the weather it works well for this project. The wallpaper wrap makes it a snug fit so I didn't need to use the toothpick shims.


I added a cork and bead pendant tied with more twine then put a few sea shells, cork slices and sea glass in the bottom of the jar. Here it is lit up inside my house as the sun went down. Pretty!


Here are a few other thrift store jars that would work really well for this project.


They must have a glass lid so the solar light can charge and be big enough for the light to fit inside the lid. You can use hot glue to attach the light to the inside of the top of the lid or E6000 glass adhesive for a really good bond. 


Solar jar lanterns couldn't be easier to make and they are so very very pretty on a summer night!


Huge Flowers for a Boho Wedding


We made this beautiful backdrop for my grand daughter's wedding. Except for the hanging lanterns, we totally DIYed the vintage style doors, the hanging garlands, the petunias and geraniums in the urn planters and these luscious HUGE paper flowers for her decor.

Everything turned out AWESOME!!!


Here's a link to the door project...

http://makethebestofthings.blogspot.com/2014/06/gorgeous-wedding-doors-are-pinterest-win.html

Thanks to Pinterest, the bride had loads of ideas for her wedding and she chose these stylish flowers for a decorative highlight.


So during the course of one weekend, her mama, Insanely Creative Christy, gathered all her paper crafting wits and supplies and made these gorgeous oversize flowers. She looked at the photos and figured out just what she needed to do to make each style. 


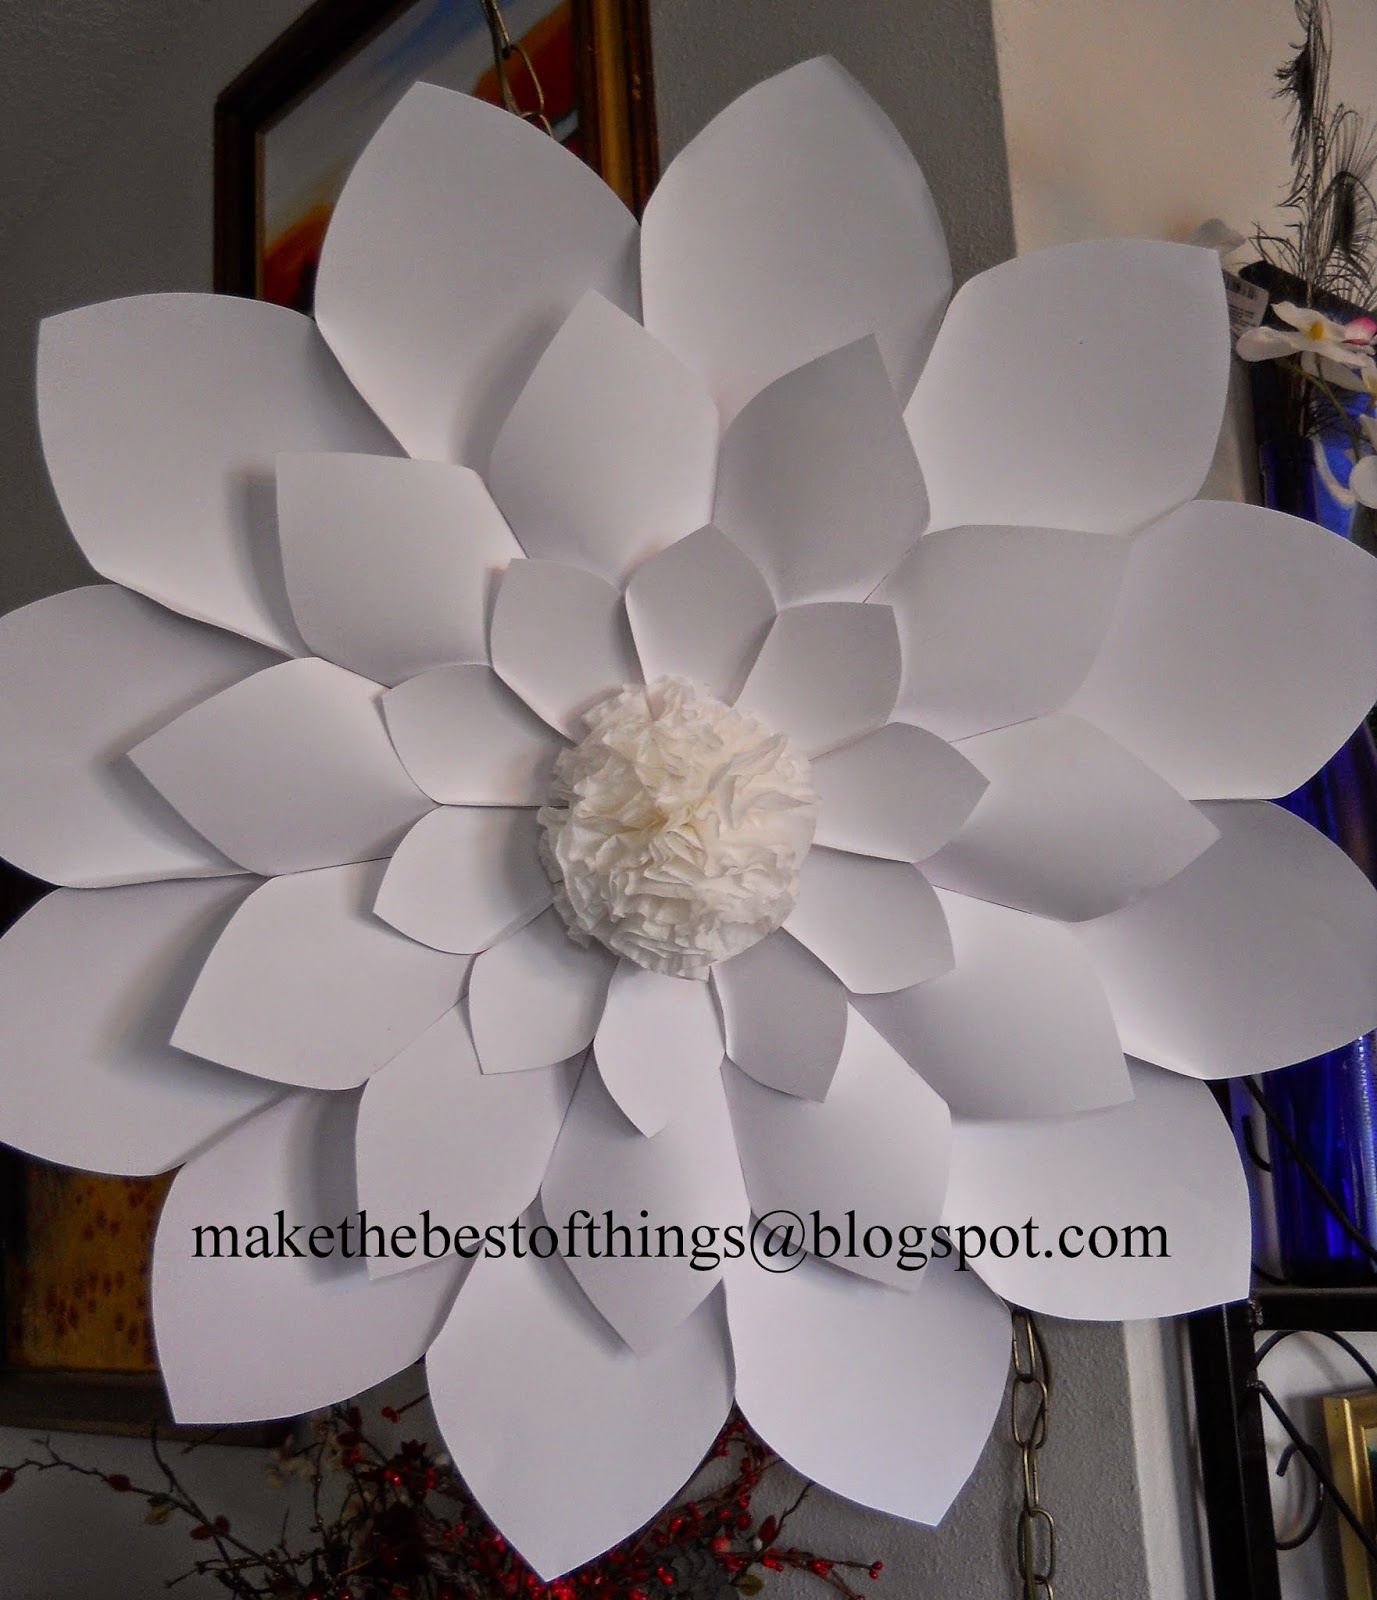
These flowers are seriously HUGE, folks. This one is 30" across! She made them all with small paper plates for the centers and built out from there. This flower is made of poster board, coffee filters and copy paper. She used hot glue and a stapler.


The edges are curled with a bit of dowel. What a neat detail!


Here is the humongous rose. Did you notice that it looks a bit pink? Who knew that poster boards from different stores weren't the same shade of white? Now you know!

Here is the spikey chrysanthemum both during and the final. Again, the center is coffee filters and cut copy paper, with some curled tightly in the middle.


 Here is a peony style with folded, fringed poster board in the middle and the middle petals curled inward.


Another peony style with that pinkish poster board. She added beaded accents to the center of folded copy paper.


Here are the first three flowers hung together. See how the paper she used has different shades of white? We liked that sweet serendipity!


We hung them in my living room before the wedding to keep them out of harms way. They looked wonderful! By the time she was done she made a dozen blooms, all of them beautiful. The smaller ones were made of tissue and cardstock.


To hang them up we simply stapled through the back petals directly onto the wooden doors. Draped paper circle garlands gave the design a bit of movement and flow. We just LOVE how this came out!


Coming up next....what do you do with huge paper flowers like these after the wedding? We don't want to trash them and they do take a bit of space. So for now I've put them here in my master bedroom. Soon they will be props for my daughter's photography business. They will be here for a bit in a "flower cloud" above our bed, according to The Welding Man.


And again I say, "Oooh aaah!"

Come join me at these Linky Parties this week. So many neat ideas out in blogland!

http://akadesign.ca/the-weekend-re-treat-link-party-78/

Thursday, July 17, 2014

Flower Power Patio Umbrella Rescue

After painting our back deck I realized the bright hot sunshine was too much of a good thing, so shopping for an affordable umbrella was number one on my list. But since I am risk averse when it comes to actually spending money on something new, I hit the local St. Vincent's first.

And THAT is how I scored this perfectly serviceable umbrella with a few mouse holes for FREE!
Wait, you say, those are NOT a few mouse holes and what about other evidence of mousey activity like pee and pellets?


I thoroughly sprayed it with disinfecting detergent spray and scrubbed it with a car washing brush and it came out looking really GOOD. Except for the numerous gnawed holes, that is.

Ahem. I had a plan.

With a coupon for Joanne's in hand I bought a yard of this outdoor fabric for less than $1. This fabric reminds me of high school and an A line skirt I made in home ec class. Plus I think I had a pair of bell bottoms in this pattern. Lol! 


And, most importantly, I found THIS adhesive at our local hardware store. See the pic of the umbrella on the packaging? I knew my plan was coming together.


Yeah. Just let me tell you that Super Glue, Fabric Glue, Tacky Glue and hot glue don't work on the                    outdoor fabric OR the umbrella. Trust me on this. But the Loctite adhesive WORKS!                 

I cut out lots of flower shapes and glued them inside and outside the holey umbrella. Plus I added a few for fun.


And look. Holes be covered!


This project was right up my alley. I saved a throwaway umbrella with a bit of ingenuity, fabric and the right kind of glue. The total cost was less than $10. The umbrella now makes our recently redone back deck a shady and pretty place to spend our summer days. I call that a win win!


Sunday, July 6, 2014

Gorgeous Wedding Doors Are A Pinterest Win!

I'll be blogging about all the DIY wedding ideas we used from Pinterest soon. But for now, here's a photo of the absolutely stunning finished wedding doors with paper flowers that we made for my granddaughter's wedding.

YES, we made almost all of this and you can, too!


Here we go.....

Our bride found this on Pinterest for her wedding background. She wanted it real bad!


So a trip to our local recycling store got us the doors and hinges we needed. Total cost, $50!!!! Her groom and nephew volunteered to paint....


and found that on a sunny day, white paint reflects something FIERCE! Guess who got sunburned under their chins?


Hinged together and standing up, they are very stable. We added some legs to the bottom corners for stability. The paint job didn't need to be perfect because then I did this.....


I dry brushed all the edges with black paint and glued canning jar lids to all the knob holes. Already this is looking so good!


Here they are all set up with even more of our decor projects for her wedding. She was delighted! And we were delighted that she was delighted!


Aren't they freakin' beautiful? I'll be blogging about all the other projects, too, and soon. They include the huge custom made paper flowers, the home grown wedding flowers and even the paper garlands we strung up everywhere.

I promised I wouldn't blog her wedding photos but I'll leave you with this. These doors made the BEST photo background EVER!


And now that her awesome wedding is done, I get the doors to build a garden shed that I saw on Pinterest.


I'll call this a WIN WIN!


 I'll be posting the follow up on making those gorgeous flowers here....
http://makethebestofthings.blogspot.com/2014/07/huge-flowers-for-boho-wedding.html

Joining up with these fabulous linky parties this week. Come and party!

http://www.serenityyou.com/2014/07/serenity-saturday-143.html

http://www.funkyjunkinteriors.net/2014/07/pj-249-upcycled-link-party.html

http://tatertotsandjello.com/2014/07/link-party-palooza-and-fabric-expressions-giveaway.html

http://www.bedifferentactnormal.com/2014/07/show-tell-saturday-072614.html#more

Packing Crate Table From Kiwi Crates

Can you imagine how excited I was to score these excellent crates from our local grocery store? They are boxes for shipping kiwis and the crafty light bulbs went off in my head so fast when I saw them I could hardly wait to ask about them. And the best thing? 

Totally FREE!


They are made of pine and measure 2' x 4' x 15" high. I let them bake in the sun for a few days then stacked two and made this table for our carport turned back patio. A few well placed screws made it stable and secure.


                                  I like the natural wood but I knew I wanted something a little aged. I pulled out the leftover white paint from The Welding Man's shed project. Dry brushing gave me just the right look!


     Oooh aaah!

I removed the side boards from one side of the top crate to make a handy shelf. This table is the perfect size and height for putting my feet up and lounging.

Talk about serendipity!


The back patio is an ongoing project but already things are looking pretty and  inviting. Just a little more blue glass on the shelves....big fat pillows on the day bed...some blue hydrangeas in those ladder baskets...but first, just a little time to relax. With my feet up, of course!

I'll be linking up to these fun linky parties. Come join in the fun!


Ivy Vines Turned Summery Wreath DIY Garden Art

I am always on the lookout for ways to recycle what I have into something I want. In this case, I wanted a summery vine wreath for my front porch so I put it on my mental clipboard.

And as I've found time and again, the solution presents itself IF I'm paying attention.

This pile of needlepoint ivy trimmings gave me the first spark.


Did you know you can still buy metal coat hangers?  Yup! These "new" ones are plastic coated and still perfect for wire projects, like forming the base of my wreath.


I wrapped and tucked and wrapped and tucked all the way around. I didn't have to use the wire at all. After a few days drying time I retucked the loose ends.


I am always on the lookout for real looking greenery so I had a stash of beautiful fake foliage to choose from. But if you wanted to buy the garland to make this wreath it cost about $7 using a coupon at Michael's. I also used a few Dollar Store bunches to fill it in.


Oooh aaaaah!


  Now comes the fun part; hanging it on the porch and taking photos! I LOVE the way it looks so real even compared to the ivy tower and other plants close by!


Well now, that was fun and easy and CHEAP. Okay, thrifty and money saving. Projects like this boost my mood immediately!

I'll be posting at these fun blog parties this week. Come visit and enjoy the neat projects!


Book Page Christmas DIY

Most of you have figured out I am a color freak with an obsession  for turquoise, red and cobalt blue.  However, I also obsess about ...